
Ever found yourself in a digital pickle, wondering why you can’t clear your history on your iPhone? You’re not alone! Many iPhone users have faced this baffling conundrum, and it can feel like a tech gremlin is playing tricks on them. Whether it’s a stubborn app or a sneaky setting, the frustration is real.
Understanding History Clearing on iPhone
Clearing history on an iPhone involves removing browsing data from Safari and other apps. Users often face challenges based on settings or permissions. For instance, if restrictions are enabled, they may prevent history clearing.
Safari’s settings play a significant role in this process. Go to Settings, then Safari, and tap “Clear History and Website Data.” This menu option allows quick deletion of browsing history, cookies, and other data. Users must note that clearing history removes all saved data, including tabs and websites.
Apps may also store browsing data independently. Third-party browsers, like Chrome or Firefox, have distinct clearing procedures. Each browser provides options within its settings to delete history efficiently. Users should check settings in each app to ensure thorough data removal.
Safari browsing history syncs across devices through iCloud. If syncing is activated, users cannot clear history on one device without affecting others. To manage this, navigate to Settings, then tap your name, select iCloud, and adjust Safari sync settings.
Clear browsing history periodically to ensure privacy. Many prefer to keep history for easy access to previously visited sites. However, for users prioritizing privacy or device performance, regular deletion can enhance the experience.
Technical glitches may impede history clearing. Restarting the iPhone can solve minor software issues. If the problem persists, updating the iOS version often resolves underlying bugs that affect history management.
Understanding these factors helps navigate history clearing effectively on an iPhone. Adjusting settings, managing apps, and addressing technical issues can simplify the process.
Common Reasons for Inability to Clear History
Various factors can prevent iPhone users from clearing browsing history effectively. Understanding these reasons helps address the frustration that can arise during the process.
Software Glitches
iPhones may experience software glitches that hinder the clearing of browsing history. Restarting the device often resolves these issues. Updating the iOS version can also eliminate potential bugs. Users should check for updates under Settings, then General, and select Software Update. Sometimes, closing background apps helps as well. If a glitch persists, performing a factory reset might be necessary, though this should be a last resort.
Restrictions and Settings
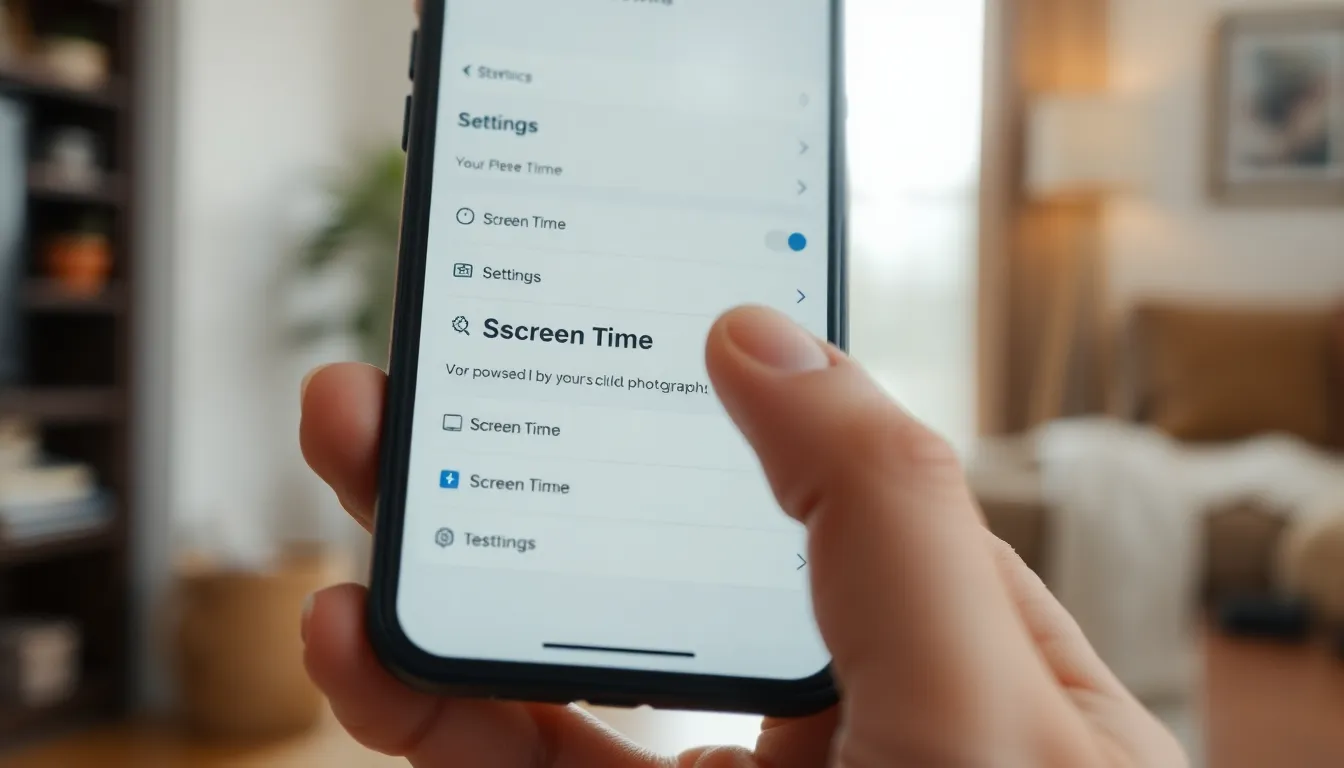
Configurations within Settings can restrict the ability to clear browsing history. Enabled restrictions prevent access to the function. Users can navigate to Settings, then Screen Time, to check if restrictions are active. Disabling these settings allows for smoother functioning. Another setting to consider involves iCloud synchronization. If syncing is on, clearing history on one device may affect others, creating confusion about what has been deleted.
Step-by-Step Guide to Clear History on iPhone
Clearing browsing history on an iPhone is straightforward if users follow the correct steps.
Using Safari
To start clearing history in Safari, access the Settings app. Tap on Safari, then look for the option labeled “Clear History and Website Data.” Selecting this option deletes all browsing history, cookies, and cached files. Users should note that this action affects all devices linked through iCloud if sync is enabled. Consider checking for restrictions under Screen Time if the option is unavailable. Confirming these settings ensures history can be effectively cleared.
Using Third-Party Browsers
For third-party browsers, the process differs slightly. Open the specific app, such as Chrome or Firefox. Access the settings menu, often found under a gear icon or menu option. Locate the clearing history or data section, and follow prompts to delete browsing history and cached data. Each app may feature unique settings, so it’s essential to explore and review them carefully. Users may also want to disable syncing if they’re managing histories across multiple devices.
Troubleshooting History Clearing Issues
Clearing history on an iPhone may face obstacles. Addressing these challenges can require troubleshooting steps.
Restarting Your Device
Restarting the device can resolve minor software glitches affecting history clearing. Users may notice improvements in the functionality after a simple reboot. To restart an iPhone, pressing and holding the power button until the slider appears is necessary. Swiping the slider prompts the device to turn off. After waiting a few seconds, pressing the power button again will turn the device back on. This straightforward action often resets background processes, helping users attempt history clearing again.
Updating iOS
Updating iOS can fix bugs that interfere with clearing history. Software updates often contain crucial fixes and enhancements. To check for updates, navigating to Settings, selecting General, and then tapping Software Update is essential. If an update is available, users can follow on-screen prompts to download and install it. Completing this process might eliminate obstacles and restore the ability to clear browsing history effectively. Maintaining the latest version of iOS supports optimal device performance and enhances user experience.
Clearing browsing history on an iPhone can be a straightforward process if users understand the necessary steps and potential obstacles. By managing settings and permissions effectively users can ensure their history is cleared without complications. It’s essential to stay updated on iOS versions and be aware of any restrictions that may hinder the process.
Regularly clearing history not only enhances privacy but also improves device performance. With the right knowledge and troubleshooting tips users can navigate this process with confidence and maintain their browsing experience as they prefer.